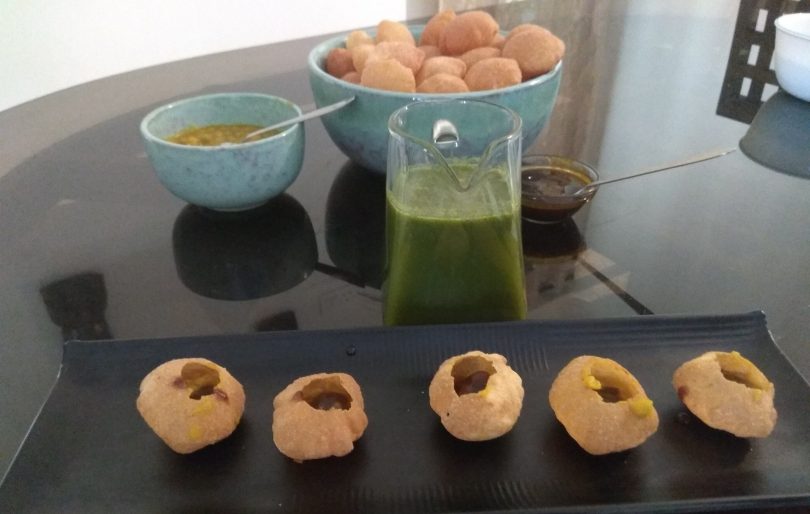
Pani puri ( Ghup Chup)
Pani puri does not need any introduction since it tops the chart among the Indian street food. The crunchy Puri’s along with flavourful stuffing and sweet chutney filled with spicy Pani is to die for. Believe me the burst of flavor in your mouth is so heavenly that you want to eat unstoppably and eyes become bigger than the stomach. A perfect balance of sweet, tangy and spicy, trust me pani puri can never go wrong. Although it is found in almost every nook and corner of Indian streets but due to unhygienic ways it eventually puts you at health risk. So here is a mouth watering recipe that can be easily prepared at your home so that it could be enjoyed within your comfort zone. The puri is easily available throughout the length and width of the country.
For the pani
Mint leaves : 1 cup
Coriander leaves : ½ cup
Green chilli : 4
Garlic : 4 pods
Cumin seed : 1 tsp
Tamarind pulp : 2 tsp
Chat masala : 2 tsp
Black salt : 2 tsp
Chutney
Tamarind : 100 gms soaked and deseeded
Jaggery : 100 gms
Chili powder : 1 tsp
Salt : ½ tsp
Stuffing
yellow peas : 250 gms soaked overnight
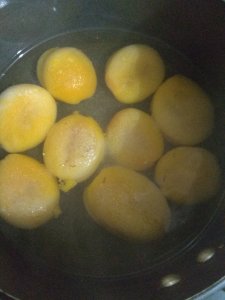
Potato : 2 large
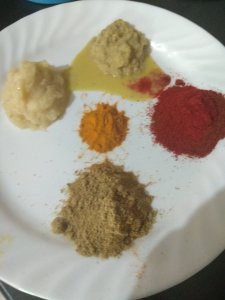
Turmeric powder : 1 tsp
Red chili powder : 2 tsp
Coriander powder : 2 tsp
Cumin powder : 1 tsp
Ginger garlic paste : 2 tsp
Salt as per taste
Step 1

Pressure cook the soaked peas along with turmeric powder, salt and water for about 5 whistles. Separately boil the potatoes.
Step 2

Heat oil in a kadai and add the ginger garlic paste and saute until the raw smell disappears. Next add the coriander powder, cumin powder, chili powder and chat masala and salt and cook them all together.
Add the boiled peas and stir till it comes to the boil, put the boiled and mashed potatoes and cook them together for a couple of minutes. Ragra is ready for the stuffing.
Step 3

Make the tamarind chutney by cooking together tamarind with jaggery, chili powder salt and chat masala. Cook them all together until the chutney reaches the desired consistency. Once done, keep it aside and let it cool.
Step 4

For the pani, grind together mint leaves, coriander leaves, green chili, garlic, cumin seed, tamarind paste, salt and chat masala.
Step 5

Transfer it in a large bowl and add about 3 to 4 cups of water whisk it together with the help of a spoon. The pani is ready. Put it in the fridge for some time before serving it.
Step 6

Stuff The puri with ragda , chutney and pani and enjoy the blast of flavor.
Tip
Boiled and mashed potatoes thickens the consistency of the ragda.