Chicken Cutlet

Delicious, juicy and crispy chicken cutlet is  a fried patty that is served as a starter or even main course. This amazing recipe is from my mom’s kitchen that I have been enjoying since my childhood days. The love for the dish has graciously passed on to the generation next and my boys too love this scrumptious home made Indian style chicken cutlet. Quite often I make and store it in the freezer so that my son’s can have it whenever they wish. I have just used boneless chicken and a few regular spices available in any Indian household. My family relishes cutlets along with garlic bread but believe me it tastes amazing even with rotis and parathas.

Ingredients

Boneless chicken : 500 gms

Onion : 2

Ginger garlic paste : 1 tsp

Green chili : 4 to 5

Lemon juice : 1 tsp

Coriander leaves : 2 tsp

Mint leaves : 10 to 12

Black pepper : 1 tsp

Garam masala powder : ¼ tsp

Flour : 4 tsp

Bread crumbs : for coating

Oil for frying

Salt to taste.

Step 1

Wash the chicken pieces and pat them dry.

Step 2 

Grind into a semi smooth paste.

Step 3

Heat a tsp of oil in a pan. Add onion and saute for a couple of minutes. To this add the sliced green chili, ginger garlic paste, pepper, mint and coriander leaves, garam masala and salt. Cook them all together for about 2 to 3 minutes and then switch off the flame.

Step 4

Pour the onion mixture on the minced chicken. Add the lemon juice and mix it well until they all come together. Add a soaked and drained bread to it so that it works as a binding agent.

Step 5

Grease your palm and make equal sized balls. Next press and give the cutlets the desired shape.

Step 6

Mix the maida and water to make a slurry. In a separate plate spread the bread crumbs. First dip the cutlet in the slurry and the roll it in the breadcrumbs to evenly coat the cutlets.

Step 7

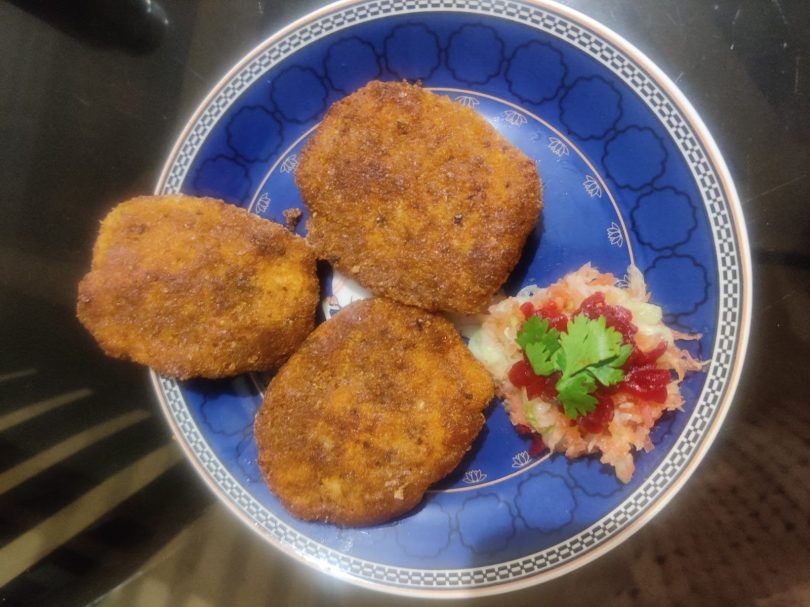
Heat oil in the frying pan and fry the cutlets until crisp and golden brown. Once done take them out in an absorbent paper.
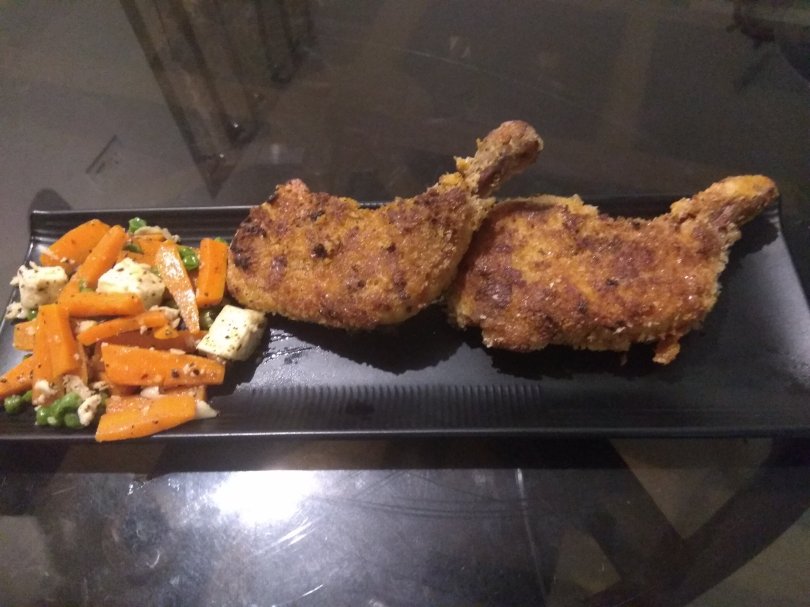
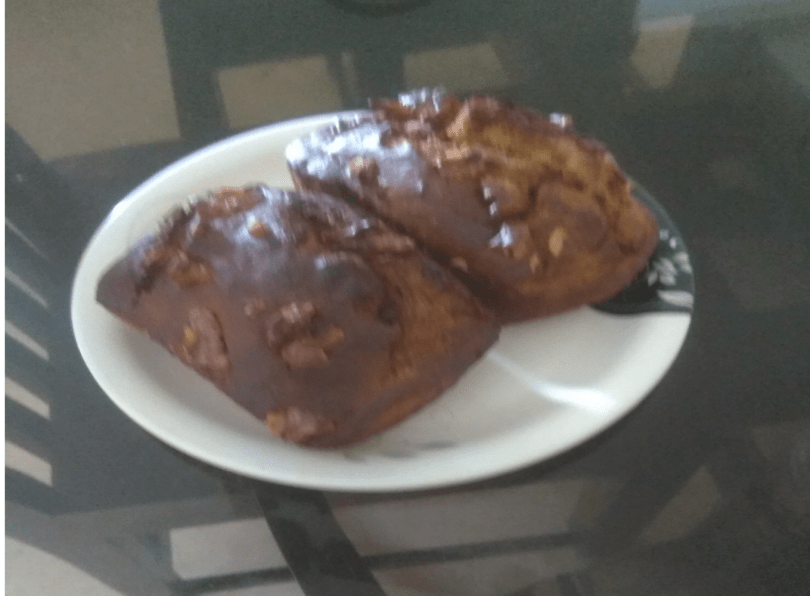
Serve hot with sauce or mayonnaise of your choice.

Tip

Add a tsp of oil while grinding the chicken as it will help the cutlets to remain moist.

Dates, carrot and walnut cake with zero added sugar

Dates, carrot and walnut cake with zero added sugar

Delicious, moist and healthy cake with the goodness of dates, carrot and wallnut is a delightful guiltfree indulgence. My husband was diagnosed with diabetes almost a decade ago and as an ardent sweet lover it became an hulrricane task to beep keep him away from desserts.As a result I kept on trying innovative recipes in my kitchen with sugar substitute. Recently I came across a simple and easy healthy cake recipe with no added sugar and an amazing taste. This healthy cake recipe with the sweetness of dates is a must try as an alternative to classic cake recipe.

Ingredients
Dates – 16 to 18
milk -1 /4 cup
Flour– 1 cup
Grated carrot – 3/4
Egg-2
Butter– 100 grams
walnut – 7- to 10
Baking powder-1/4 tsp
baking soda –1/2 tsp
Vanilla essence – 1/4tsp


step 1

In a small pan add the deseeded dates and milk and let it boil and simmer for a couple of minutes.

Step 2


Let it cool and make a paste in a blender

step 3

Grate the carrot and squeeze the excess water.

step 4

Melt the butter and add the dates paste to it. Gradually add the grated carrot and egg to the butter and combine them all together with the help of a whisk.

step 5

Sieve the flour along with the baking powder and baking soda

Step 6

Now add the wet mix to the dry one. Add the Vanilla essence and chopped walnut. Fold the mix gradually until they all combine together.

Step 7

Preheat the oven at 160 degree Celcius. Pour the cake batter in a greased container

step 8


B

Bake for about 40 minutes at 160 degree celcius until done.

step 9

Cool and enjoy the cake.

Tip

soaked dates adds moisture and texture tothe cake.

To check the cake, insert a knife or toothpick in it and if it comes out clean then the cake is done.

Go back

Your message has been sent

Warning
Warning
Warning
Warning

Warning.

Read More »

Crispy Chicken Leg

Crispy chicken leg is an easy dish with a beautiful blend of flavours of tandoori as well as crunchiness of fried chicken. Home made tandoori chicken is my family’s all time favourite recipe. But this time my husband asked for a different variation of this classic recipe with a crispier crust. And I attempted this recipe that luckily turned out to be an awesome one  with moist inside and wonderfully crispy on outside. Serve it as a starter or side dish to enjoy the delightful variation of crispy chicken legs.

Ingredients

Chicken legs with thigh: 2 pieces

Lemon juice : 1 tsp

Beaten egg : 1

Milk : 1 tsp

Bread crumbs : to coat

Salt to taste

For the marination

Hung curd : 2 tsp

Ginger garlic paste : 1 tsp

Kashmiri red chilli powder : 2 tsp

Tandoori chicken masala : 1 tsp

Chat masala : 1 tsp

Cournflour : 1 tsp

Butter : 1 tsp

Mustard oil : 1 tsp

Salt as required

Step 1

Cut deep slashes in the chicken pieces. Clean and marinate with lemon juice and a tsp of salt. Let it rest for at least half an hour.

Step 2 

In a bowl mix together all the above mentioned ingredients for marination.

Step 3

Pat dry the chicken and marinate with the second marinade. Keep it aside for at least a couple of hours.

Step 4

Place it in a preheated air fryer and cook for about 15 minutes at 200 degree Celsius .

Step 5

Once tender, take it out.

Step 6

In a deep plate whisk egg, milk and salt. Dip the prepared tandoor legs in the egg dip.

Step 7

Next coat it evenly in the bread crumbs from both the sides.

Step 8

Heat a couple of spoons of oil in a frying pan and shallow fry the legs from both the sides until crispy and golden brown.

Step 9

Serve it along with sauteed vegetables and salad.

Tip

Whisked egg and milk helps the crumbs to stick to the chicken.

Mango stuffed kulfi 

Summer is all about mango and each time it brings back the loving memories of my dearest mother in law who was an intense mango lover. Mangoes literally ruled her heart and she believed that no other food can match the aroma and taste of this incredible fruit and here I dedicate this dish to the doting lady” Ma”. Although I keep on trying creative recipes with mango, believe me the mango stuffed kulfi is beyond compare. It is a simple dish where the milk is reduced by boiling and sweetened and then stuffed in the mango. A must try recipe, simple yet amazing.

Ingredients

Mangoes : 4

Full cream milk : 1 litre

Sugar : 4 tsp

Cardamom powder : a pinch

Kesar : 10 to 12 strings


Step 1

To scoop the seed from the mangoes, cut the crown and with the help of a sharp knife cut along the seed. Make sure not to cut the edges.

Step 2

Now with the help of a grip twist the seeds to loosen it. Gradually pull out the seed.

Step 3

Squeeze the excess pulp from the seed and keep it aside.

Step 4

Boil the full cream milk in a thick bottom pan. Lower the flame and reduce it until it comes down to ⅓ in volume, stirring occasionally. To this add sugar, cardamom powder and kesar, mix well and switch off the flame after a couple of minutes. Let it cool.

Step 5

Once cool add the mango pulp and mix it well.

Step 6

Pour the rabari in the mangoes and cover with the crown.

Step 7

Place the mangoes straight in the container, let it freeze for at least 8 to 10 hours or until set.

Step 8

Peal it with the help of a sharp knife.

Step 9

Cut into roundles.

Step 10

Garnish with saffron string and enjoy the incredible dessert.

Tip

Use firm mangoes for a perfect result.


Soya Mughlai Paratha

Paratha is a staple Indian food and especially in Northern part of India, a day is incomplete without their very own paratha.From plain to stuffed, it is enjoyed in any form. Mughlai paratha is a popular Bengali street food and I have tried a veg version of it with soya granules. With 52% protein content, it is indeed a powerhouse recipe for your dear ones. combine it with your favorite chutney and relish the divine flavour of soya keema mughlai paratha.

Ingredients

For the dough

Maida: 250 gms

Oil: 2 tsp

Salt: 1 tsp

For the stuffing

Soya keema: 200 gms

Onion: 2

Green chilli: 6 to 7

Garlic paste: 1 tsp

Coriander powder: 2 tsp

Turmeric powder: 1 tsp

Green peas: 50 gms

Garam masala powder: 1 tsp

Lemon juice: 2 tsp

Kasuri methi: 1 tsp

Salt : as per taste

Oil : for frying

Step 1

img_20190613_1844201007716838.jpg
Step 1: Soya Mughlai Paratha

Soak the soya keema in hot water along with salt. Drain it out after 5 to 7 minutes or until they become soft. Once cool squeeze the extra water from it and keep it aside.

Step 2

img_20190613_1924171963513952.jpg
Step 2 : Soya Mughlai Paratha

Knead maida along with oil and salt. Cover it with a damp cloth and let it rest for at least half an hour.

Step 3

img_20190613_1840281704696530.jpg
Step 3: Soya Mughlai Paratha

Add onion in a hot oil and Fry them until done. Add the rest of the masala and saute it until the oil leaves the side of the pan.

Step 4

img_20190613_1841321688718795.jpg
Step 4 : Soya Mughlai Paratha


Now put the peas and saute it along with the masala.


img_20190613_184524138770532.jpg
Step 5 : Soya Mughlai Paratha


Once the peas is coated with the masala add soya granules and let them cook together.

Step 6

img_20190613_185040728754516.jpg
Step 6 : Soya Mughlai Paratha


Once done sprinkle kasuri methi along with coriander leaf and lemon juice. Keep it aside and let it come to room temperature.

Step 7

img_20190613_1938301618474704.jpg
Step 7 : Soya Mughlai Paratha

Roll the dough into a thin rectangular sheet.

Step 8

img_20190613_193914836783657.jpg
Step 8 : Soya Mughlai Paratha

Place the filling in the centre of the sheet.


Step 9

img_20190613_193944990455054.jpg
Step 9:Soya mughlai paratha


Now fold the four sides of the sheet inward, starting with the longer side forming an envelope shape. Now press down gently and seal the sides.

Step 10

img_20190613_1942122124996967.jpg
Step 10 : Soya Mughlai Paratha

Heat oil in a frying pan and shallow Fry until golden brown and crispy.

Final Step

img_20190613_195647-11766710746.jpg
Food Ready : Soya Mughlai Paratha

Enjoy the soya mughlai paratha with chutney.

Tip

One can replace the soya keema with any other vegetable of your choice.

Slow Cooked Mutton (हाँडी कबाब)

The handi kebab is originally cooked in a handi or a deep mouthed cooking vessel normally used in northern part of India. I have borrowed this recipe from my mom’s kitchen and believe me it turns out to be an amazing mutton preparation. The mutton is marinated with curd along with few other masala and then slow cooked in thick bottom deep pan without adding water or any other liquid to it. Since, Handi kebab is cooked in its own juice, the flavor is incredible . It is a perfect short notice guest recipe since there is no tantrums involved around cooking it.


Ingredients


For Grinding

Whole jeera :1 tsp

Pepper corn :1 tsp


Other ingredients

Mutton :1 kg

Onion :½ kg

Ginger paste: 1 tsp

Garlic paste :1 tsp

Turmeric Powder :1 tsp

Coriander powder :2 tsp

Red chili powder :2 tsp

Garam masala powder : 2 tsp

Curd : 200 Grams

Mustard oil : 200 ml

Ghee : 2 tsp

Bay leaf : 2 to 3

Salt: As per taste

Pictorial step 1

This slideshow requires JavaScript.


Grind the jeera and pepper corn into a smooth paste.


Step 2:img_20190101_1104111767640132.jpg

Marinate the mutton along with all the masala, onion and oil.


Step 3img_20190101_1106241769357116.jpg

Mix them all together and keep it aside for at least an hour.


Step 4img_20190101_1139371020236494.jpg

Heat the thick bottom pan and put the mutton along with all the marinade into it.cook it on high flame for about ten minutes. Then lower the flame and cover the pan with the lid. Let it Cook on low flame for at least an hour.


Step 5

img_20190101_131437782090644.jpg

Open the lid and stir the mutton at a regular interval so that the masala doesn’t stick to the bottom of the pan.


Step 6img_20190101_1212282018352416.jpg

Let the mutton Cook in its own juice till it becomes tender and the consistency of the gravy becomes thick.


Step 7

This slideshow requires JavaScript.

Serve the luscious handi kebab with pori or any other Indian bread of your choice.


Tip:

Don’t add water .Onion and curd will leave water and will give the perfect consistency to the gravy.